Showing posts with label Kitchen. Show all posts

Saturday, January 2, 2021

1992 Land Yacht Before Shots Inside


A view from just inside the door towards the front

The outside of our 1992 Land Yacht looks to be in pretty decent shape, but the inside is something to behold!  We aren’t really sure how much is going to have to replaced, but there is a lot of water damage as well as a lot of rodent damage too.  The previous owners had some cats in here too, so we will be doing a lot of cleaning and ripping out.  This is definitely the good, the bad and the ugly of this RV!

Kitchen, which is to the left of the door

Middle hallway on the way to the back bedroom

The hallway leading to the back bedroom has a full cedar lined closet and a shower.  

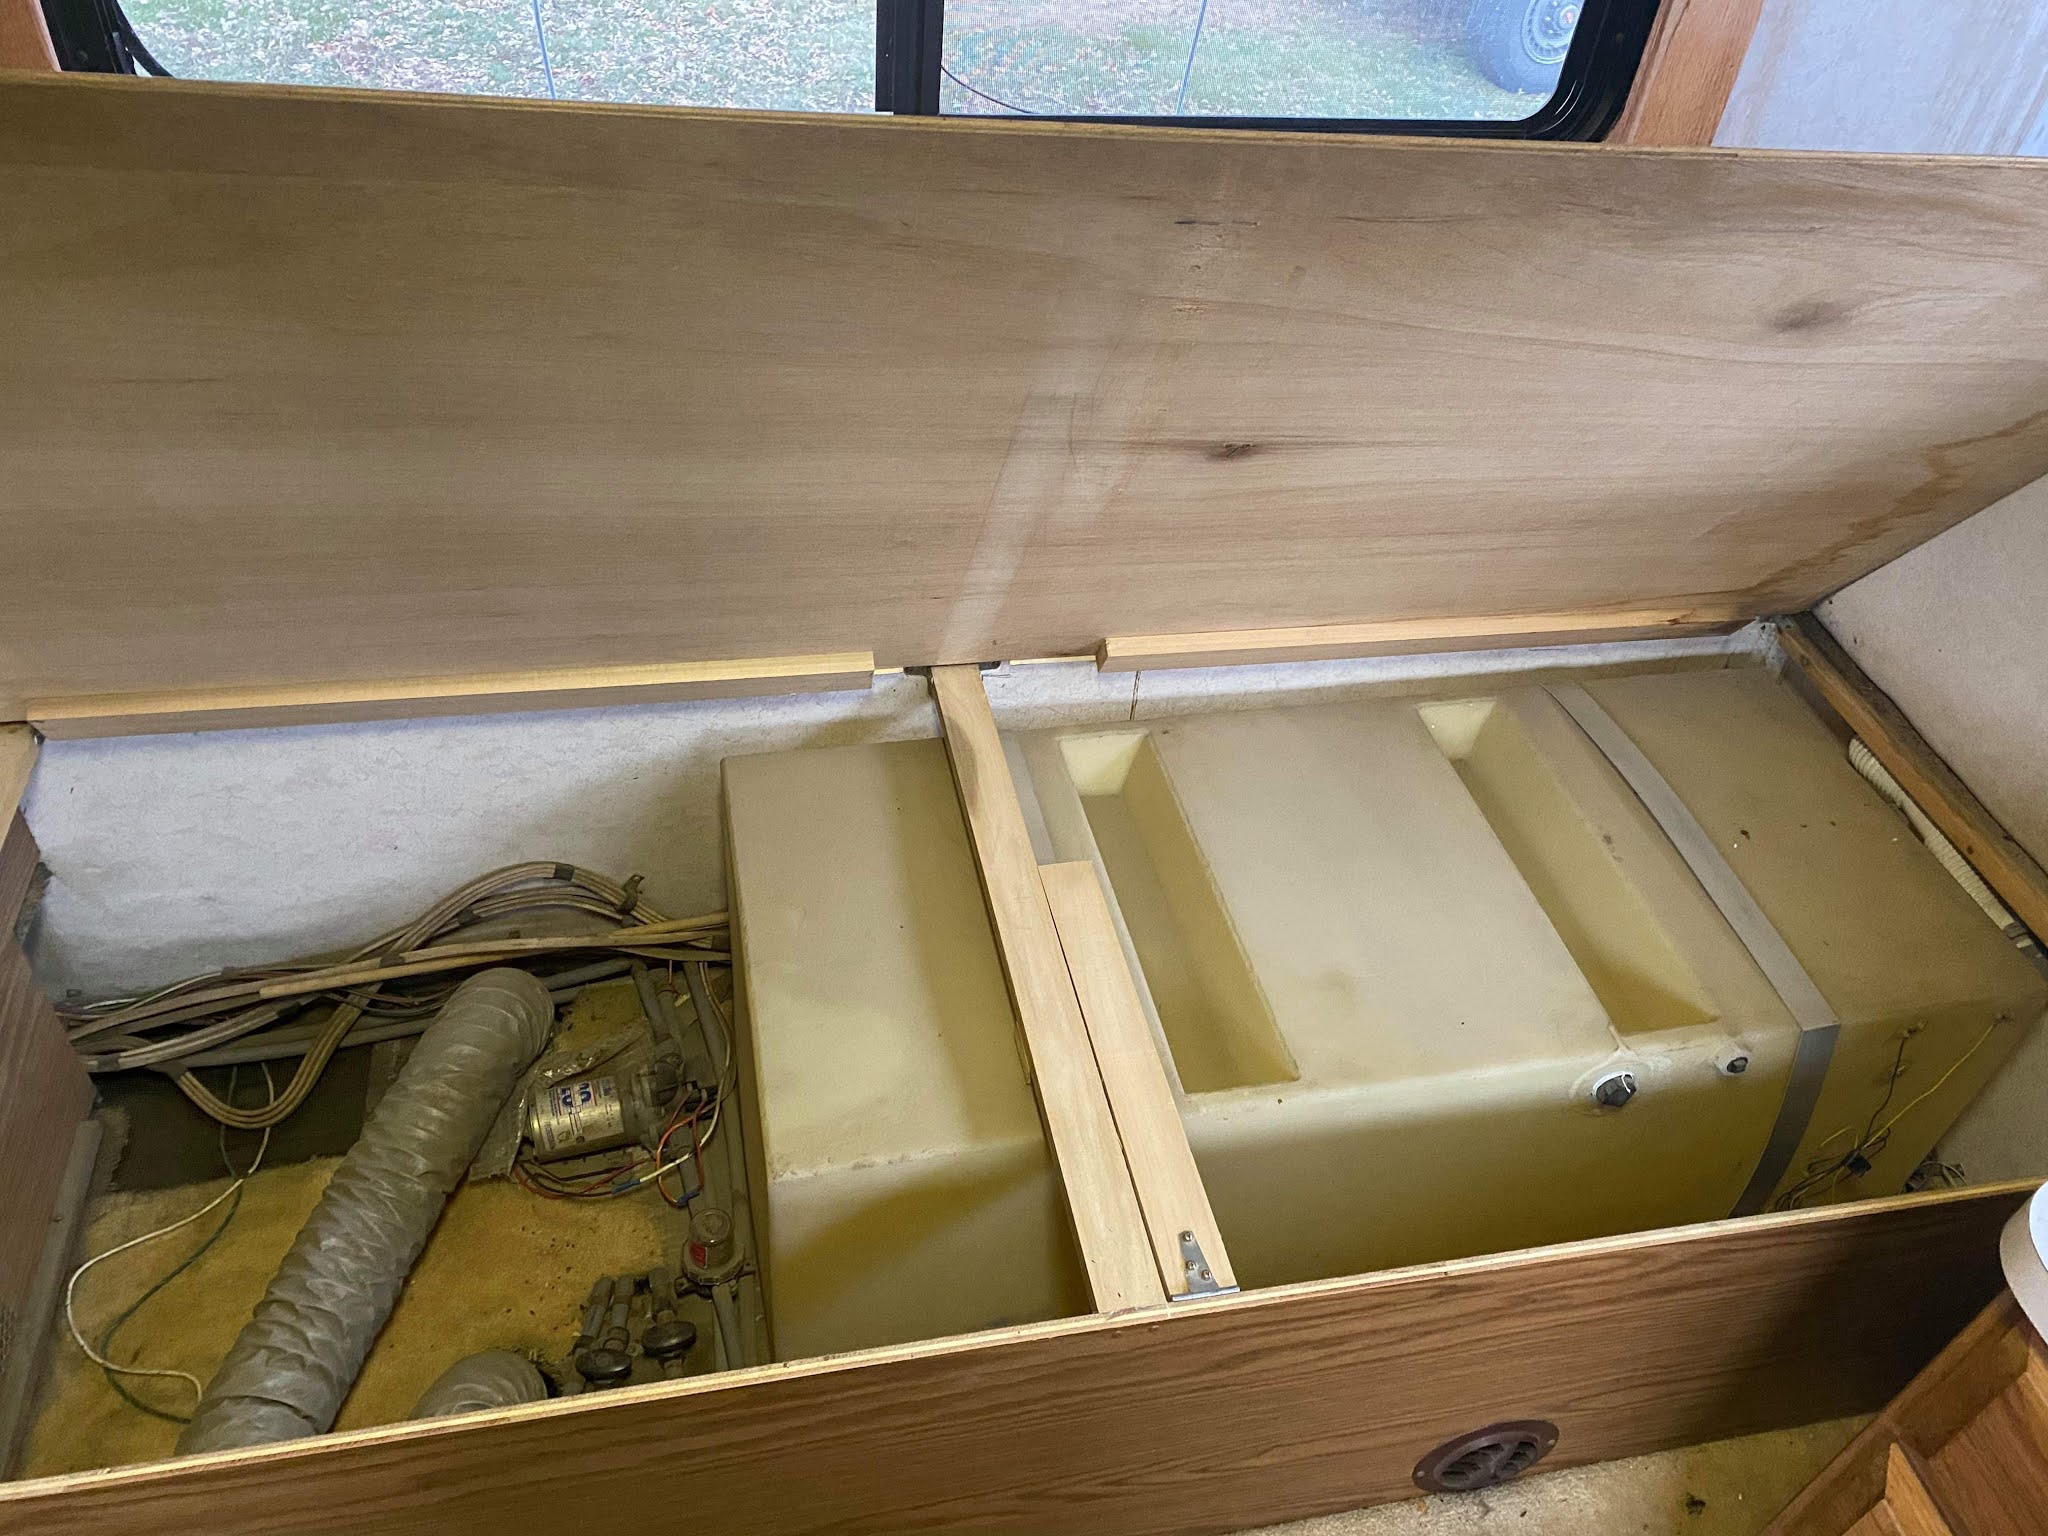
This is under the bed on the passenger size.  

Just behind the dinette is a full size refrigerator.  

As far as we can tell, it seems that the refrigerator is working.  It’s not even that dirty, but will need a cleaning.
Back passenger side twin bed

We took the twin mattresses out right away, so you don’t see them pictured here.  The roof over them has been leaking on them as well as the bugs and mice had their way with it.  Gross!!!

Bathroom on the right side in the middle

The door right next to the toilet closes to shut off the bathroom, or can be opened wide to make the entire hallway into a bathroom that includes the shower across the hall.  It’s pretty large.
This is the nightstand in the back between the twins.

A better view of the bathroom.  The cupboard space is pretty great.

This is where some of the leaking is occurring above the beds.

The original tv in the bedroom over one of the twins

A view to the back of the RV from the kitchen.

Original remote included!

Chairs behind driver and passenger seats.

These chairs are not attached and seem to be in pretty good shape.  I think once it gets warm, I should be able to power wash them and let them dry.  I may have to make slip covers, but it’s just one less item to completely replace.

Pantry between kitchen and bathroom on driver’s side

The pantry has had shelves added to make it better storage.  Other than cleaning, and possible painting, this area I would like to keep as is.  Everyone needs storage in an RV!


Another look at the toilet with that door opened up.  

There it is, a look at the entire RV on the inside before we get to work on it.  We will be working on this over the next year.  Hopefully less than a year, but you just never know! Stay tuned, for updates!  

Sunday, May 2, 2010

Spice Rack

I wanted to share with you my new spice rack that Mr. Airstream made.  If you look to the far left of the picture, you can see the spice rack hanging on the wall.  It was completely rotten, so it had to be replaced.  We decided to make it the same size, but deeper for extra things to be put there.It looks a little different, because we didn't put up the paneling in the kitchen, the rack doesn't stand out as much.  We decided to put the paper towels under the rack.  To the left of the paper towel, we added an aluminum towel hanger for kitchen towels to hang on.

I am linking up to:

Monday, March 8, 2010

Plumbing

Last year in the rush of getting our newest Airstream on the road, I didn't take pictures of the end and finished products of what we had done.  Then came winter, and who wants to go outside and take pictures?  Now that the weather is taking a turn for the better and the snow is melting, we are getting out to our beloved project and getting it back into order for camping as soon as possible.  So today, I am sharing the plumbing.  To the gentleman that asked more specific questions last year, I apologize for the delay!

This is the underside of the kitchen sink plumbing.  I think the question that was asked, was how did we used the PEX plumbing on the sink drains.  For the drain and the vent, but for the clean cold and hot water, we used the PEX.  Here's the PEX behind the drains.  On of the PEX travels along the floor along the wall to the tank under the goucho.  The hot water PEX travels the same way to under the bed in the middle where the hot water heater is.Here is a picture of the drain pipe.  The white elbow is the pipe that goes to the vent.  Originally, we had it piped out the roof, but on one of our ah-ha moments, we realized that we could used a house construction in wall vent cover, so we capped it off next to the bunk bed.  Eventually, we will probably vent it under the sink, but right now the damage is done with the hole in the wall.Finally, the PEX was also used  for the toilet.  We did learn a hard lesson and added the main in water source tube to have a valve that could be turned off when we are out of the Airstream.  Unfortunately, on our second day at WBCCI International in Madison last year, the tube that my husband has used on the toilet burst and we flooded the Airstream.  (The tube was not PEX, or the wrapped hose that you now see coming in - an effort to save money that didn't pay off!)  The PEX is the blue tubing and the wrapped plumbing tubing is the clear looking stuff.

One of my favorite features of the toilet is the kitchen sprayer for flushing out the toilet.  I'm not sure why we don't have this great feature in our house bathrooms, but it is so nice to be able to get the toilet clean without touch it!  I think that Airstream was extremely genious in this invention.  It does seem to be overkill, since the toilet can be flushed with water, but I made sure that it was put back in on the redo!
I didn't include the pictures of the bathroom sink plumbing, but that is similar to the kitchen, in that we used regular plumbing for the drainage and PEX for the water in.

Monday, November 16, 2009

Plumbing

We used the Pex plumbing to run water to everything in the Ambassador.  We didn't really take a long time to decide this for several reasons.  The first was that the only copper tubing had cracks everywhere and was even not attached in places.  Secondly, we both thought that the Pex looks better and cleaner.  Also, because the Pex is flexible, we were able to put it everywhere, without making extra joints.  We figured, the less joints, the less leaks we would have.

Initially, we fretted about the Pex tool that would cost $100 to clamp the Pex, but my husband found that one of his CV Boot Clamp Pliers worked for it.  (This was a tool he had in his posession for working on cars, but one could be found for around $30.)  We were very excited about this savings.  Although my husband did think he'd get more use out of the Pex tool, it was nice to not have to spend as much on the tool as we would on the tubing.  All tubing was purchased at Menards.  If you watch sales, you can get some good deals.Here is another vew of the plumbing.  This is in the closet.   To the left is the toilet - if you see that tan line of fiberglass, that is the black water tank.  It is enclosed in a step under the toilet and into the back sink cupboard.  To the right, you can see the original water heater.  It works and fires, but needs a replacement controller, but does work in the mean time.  That's our next project at some point.
Just to give you a picture of what the plumbing from the kitchen sink looks like (and also under the tub & bathroom sink.  We really didn't change anything as far as the original.  Where the pipes were bad, or disconnected, we just bought the same to replace it.  We tried to use as much of the old as possible, to save money and the environment!  You can see that under the sink, the white is the new and the black and grey is the old.    The only thing that we did change was the exhaust on the kitchen sink.  Instead of running the entire pipe through two beds and out the roof in the original spot, we used an inwall cap to vent it inside.  Because it is used for nothing other than the kitchen sink, there really is no smell and the hole that leaked buckets of water in the ceiling was able to be capped off permanantly.  The cap is just on the inside bed in a corner.  You can't find it unless you are looking.  I hope this answers any questions that people had about how to do the plumbing.  Please leave a comment if you have questions or comments.

Saturday, November 7, 2009

Aluminum Counter Top Edging

Since the Airstream is in the back yard, I mean winter home, I thought I'd get back into make regular posts about what we have done to get it back into shape and on the road.  I had to take a detour for awhile, since it was Airstream season.

Here is a picture of what the countertops looked like without any trim.  My dh did a wonderful job with doing the laminate on his own for his first try.  It looks fabulous.  We were both afraid of this daunting task, but once we tried, we are now pros at countertops - so watch out world, you just don't know what we'll do next!

Well, this is how they stayed for our few first trips, because we just didn't know how to finish out the edges without breaking the bank.  Many suggested the traditional plastic T-channel edging, but I had a dream of something much better!  I really love the look of the old fermica tables with the aluminum trim.  Did you know they don't manufacture that anymore?

I know, you Airstreamers out there will say that Airstream puts it in the new rigs, but it's not as easy to get as you might think!  I called Airstream, who referred me to Ewald's in Milwaukee - who really wasn't too excited about helping me get some trim!  I don't remember how much it was going to cost (not cheap!) but I couldn't get anything more from Ewald's or the company than a catelog description - no pictures.

I then went into a massive internet search for what I was looking for (Vintage Trailer Supply - could you come up with this stuff to sell at a better price, please?), only to come up with only one place in West Virginia called Bars & Booths that makes vintage-like firmica copies.  After a discussion with the very nice lady at the other end, the price we came up with was around $100 for 12 feet of it!  I would have to buy two 12 foot sections though at $100 each minimum and then the shipping would cost $80 - gulp!!!
That was a very sad day for us, because we felt that we had gone to the ends of the earth to find this (and after a discussion with the lady, she said they had to have a manufacturer create a fabrication of this, so they own the mold and can't get it anywhere else!) and now there was no hope of getting this.  If we had a spare $300 we have a lot more urgent things to fix - like a water pump and heater, that would be much more useful than decorations.

Have I told you about my dreaming before?  (You might have noticed, if you've watched us pull this out of a junk yard!)  I just don't give up very easily!  I wanted this look  and I was going to find a way to do it cheap inexpensively!  So, I told my dh to take me to the hardware store down the street for one last ditch effort and I was going to find something.  I walked up and down the aisles looking at everything to get an inspiration and wouldn't you know - I did.  I had my dh buy me two 8 foot sections of flat aluminum stripping (I'm sure there's a name for it - but it's not in my head).  It cost only $7 each and had no shipping!  I could've walked if I wanted to not pay the gas!

Right away we came home and within 45 minutes I made my dh attach it for me!  All I did was take those Scotch brand round sanding discs on a drill and buffed circles side-by-side down the strips.  My husband cut them to fit, and used round headed nails down the middle to attach it! 
I actually love the results better than my dream because we did this whole project for $14 ourselves!!  In fact, I would consider hiring out to do the same for someone else - just ask!  I hope that you can see the results - you can click on the pictures for a better view up close.  Please let me know what you think!

Monday, May 18, 2009

Snapshot of Progress

I apologize for not getting this up sooner, but I had a week layover in which I was searching for my missing SD card! I took it out of the camera with the intention of uploading the pictures onto the blog, and lost it in between! It has totally disappeared and I can't seem to find it! Never mind that I had a 2 & 4 year old asking a million questions on my trip and had to get some dishes into the dishwasher, and any other number of things I did on my 100 foot trip from the camera to the computer! So, it may be official, I have not only lost my SD card, but I have lost my mind with it! (Oh, yeah, and then there is the suspicion, that the 2 year old followed behind me, and has a great knack for 5 finger discounts in an instant, never to be found again! When you ask her if she has it, she always says "yes!", but is never able to speak English and tell us where!) So onto just a Snapshot of our recent progress!
As you can guess, my husband has gotten the plumbing run in the kitchen sink. Doesn't it look beautiful? It was previously held together with duck tape and rags, so I think he's getting pretty good at this! We can't actually test out weather it works or not, because our grey water tank is not finished yet! What we thought was a great spot (just down the road from us!) to get fiberglass work done, has turned into a big waiting game!! I guess the proof will be in the pudding, so to speak when we see the finished product!
The cabinetry has been all installed, and my husband has figured out how to do laminate counter tops. It looks wonderful. The edge is not yet finished, we need to pick that up - he says, I need to pick it out for him! Shopping! This cabinet is the one by the door on the curb with the refrigerator under it.
Which leads me to the refrigerator - which is in and working! My husband is doing finishing touches on a cupboard door below the frig to make up the difference in the original design. Obviously, the refrigerator is not original, but we are pleased to have one that works, we don't have to buy and it happens to match the new flooring. That really was a mistake, because we just fell in love with the flooring and never thought about the impact on the the appliances already in place!
On, to the other side of the kitchen, as you can see, the beautiful counter tops and an installed sink to go with the plumbing. (I feel like a TV announcer now!) The "brand new" stove is in. My husband is working on getting the gas lines run today! He is very upset about all the holes he is having to cut into the new flooring for all the plumbing and gas lines, not to mention screw holes to attach the cabinets! I say the new stove, because when we originally offered the past owner $700 for the camper, he said, "For what? The Stove - it's new!" So we have kidded about our "new stove" since we got it! We did bring him down from his $5000 original price and he included the stove, by the way.
To add to the stove story, the stove actually is new in the sense that it had all the original plastic wrap on it and the burners were wrapped in a newspaper from the 1980's. We think that someone must have purchased a new stove for it, but never got it installed or working. We realized half, way home from the junkyard, that we were lucky it didn't fall out a window, because it was in place but attached in no way!
Stay tuned for more updates soon! We actually think we will take it out Memorial Day weekend! We figure if we can at least get the gas in, we will have just as many amenities as the 1953 has and more room! My husband will never let me hook up the water on the 1953 because it is too much work to empty out the bucket underneath (I know, we never got a blue boy, but it doesn't even heat the water!) We'll keep you posted!


Tuesday, May 5, 2009

Warm Weather Prevails!!


We waited all winter for the warm weather so we could work on the camper, and then when we finally got the warm weather, we had to halt work for the black water tank to get finished by the fiberglass company. Unfortunately, he had a very important order for the Military that took priority over our poop tank! I guess we can't blame, him but what was really a couple of weeks seemed to be years! So Ta! Da! The black water tank is finished!!
Now that the black water tank is finished, my husband made a new floor over the tank to set the toilet on. He then tiled that and put the rest of the bathroom cabinets in. He even put a seal around the tub, cut the dreaded hole in the new floor for all the drains and everything.
The fiberglass company is working on the grey water tank now. We are praying that he can get that done quickly, as we want to try everything out for a trial run for Memorial Day weekend! I know, we have lofty hopes, but it seems to be going together fast.
Now everything has started to get fastened down and finished. On Saturday and Sunday, I spent the days stripping the last of the furniture that hadn't been done and then staining it all, while my husband started to get everything screwed in and in place. Above you can see that he screwed the bed into the wall after sealing all the seams on the floor with silicone.
Over the weekend and on Monday, we were able to get the following attached and in place:
  • Beds
  • Bathroom Closets
  • Electrical Box
  • Tub
  • Tub wall
  • Vanity
  • Overhead mirror
  • Built, stained and installed a new kitchen wall between bedroom and kitchen sink.
  • Kitchen pantry
  • Goucho
  • Shelf behind goucho
  • Door-in-a-door clasps put back together
  • Upper Kitchen cabinet installed

We are really booking along right now, and will get up pictures as soon as we have time to breathe! My biggest fear was that we would go really fast on getting everything together, and I will be in a crunch to get the curtains made. My fears may be realized at this pace!

Sunday, April 12, 2009

Super Saturday - Part 2

As promised, here are the rest of the pictures of what we did on Saturday when the weather was beautiful. I got all this furniture stained. We had gotten it stripped last fall. It was truly a family project. All the kids and my husband worked on the stripping one day. My husband did not care for that job, so it was decided that I would finish up that project in the future. Between coats of paint on the tub, I got the furniture stained. My husband replaced some of the pieces of the furniture that had been water damaged and couldn't be saved.

Replacing parts of the furniture, now that is another issue that we have been going around and around on! It seems that most of the wood is a thin plywood with Oak Veneer. Unfortunately, we have so many things that need replacing, the Oak Veneer ends up being a huge cost to us, so we started to discuss other options. For now, we are using floor under-layment, which as similar wood grain in it that the oak veneer has and is the same thickness as the wood that was there. We decided that we would stain it and see how it works for this year, and if we are not happy with it, we will replace it in the future.
While I was in the painting mood, I spray painted the light fixtures with Metallic spray paint, which in my opinion emulates shiny aluminum. Anything shiny that looks like aluminum is almost as good in my opinion! My husband thought that the martians had landed, because we had some flying saucers in our front yard!

Tuesday, February 10, 2009

The Instamatic Refrigerator Works!

Our biggest fear was that the refrigerator would not work at all. We have some good news! It works. The refrigerator cooled to 26 degrees today! We've heard so many bad things about RV refrigerators, that we just were not look forward to spending over $1000 for one and then have it need to be replaced in a few years. My husband brought the refrigerator into the house (set it up on my kitchen table) and cleaned everything, took it all apart and put it together and voila! it works! Now, we hope to get at least a few years' use out of it before having that expense!
If anyone knows what to do about the racks inside the frig, please leave us a comment here. The coating on all the racks are peeling off just touching it. We are finding many places that are rusted. It would be nice to figure out a replacement or a re-coating if anyone has any ideas.