Summer and camping was calling us, so we found an opening at the Dayo Reservoir Campground in Weippe, Idaho. Campsites have been difficult to get booked this year with all the restrictions in other states. The last camping trip we took, we were one of the only campers from Idaho in the huge campground we stayed in. It seems that since all of our campgrounds are open, everyone from all over the nation are coming here to camp! We went on the Tuesday before we wanted to go camping, and found this spot! We were pretty excited to get in!
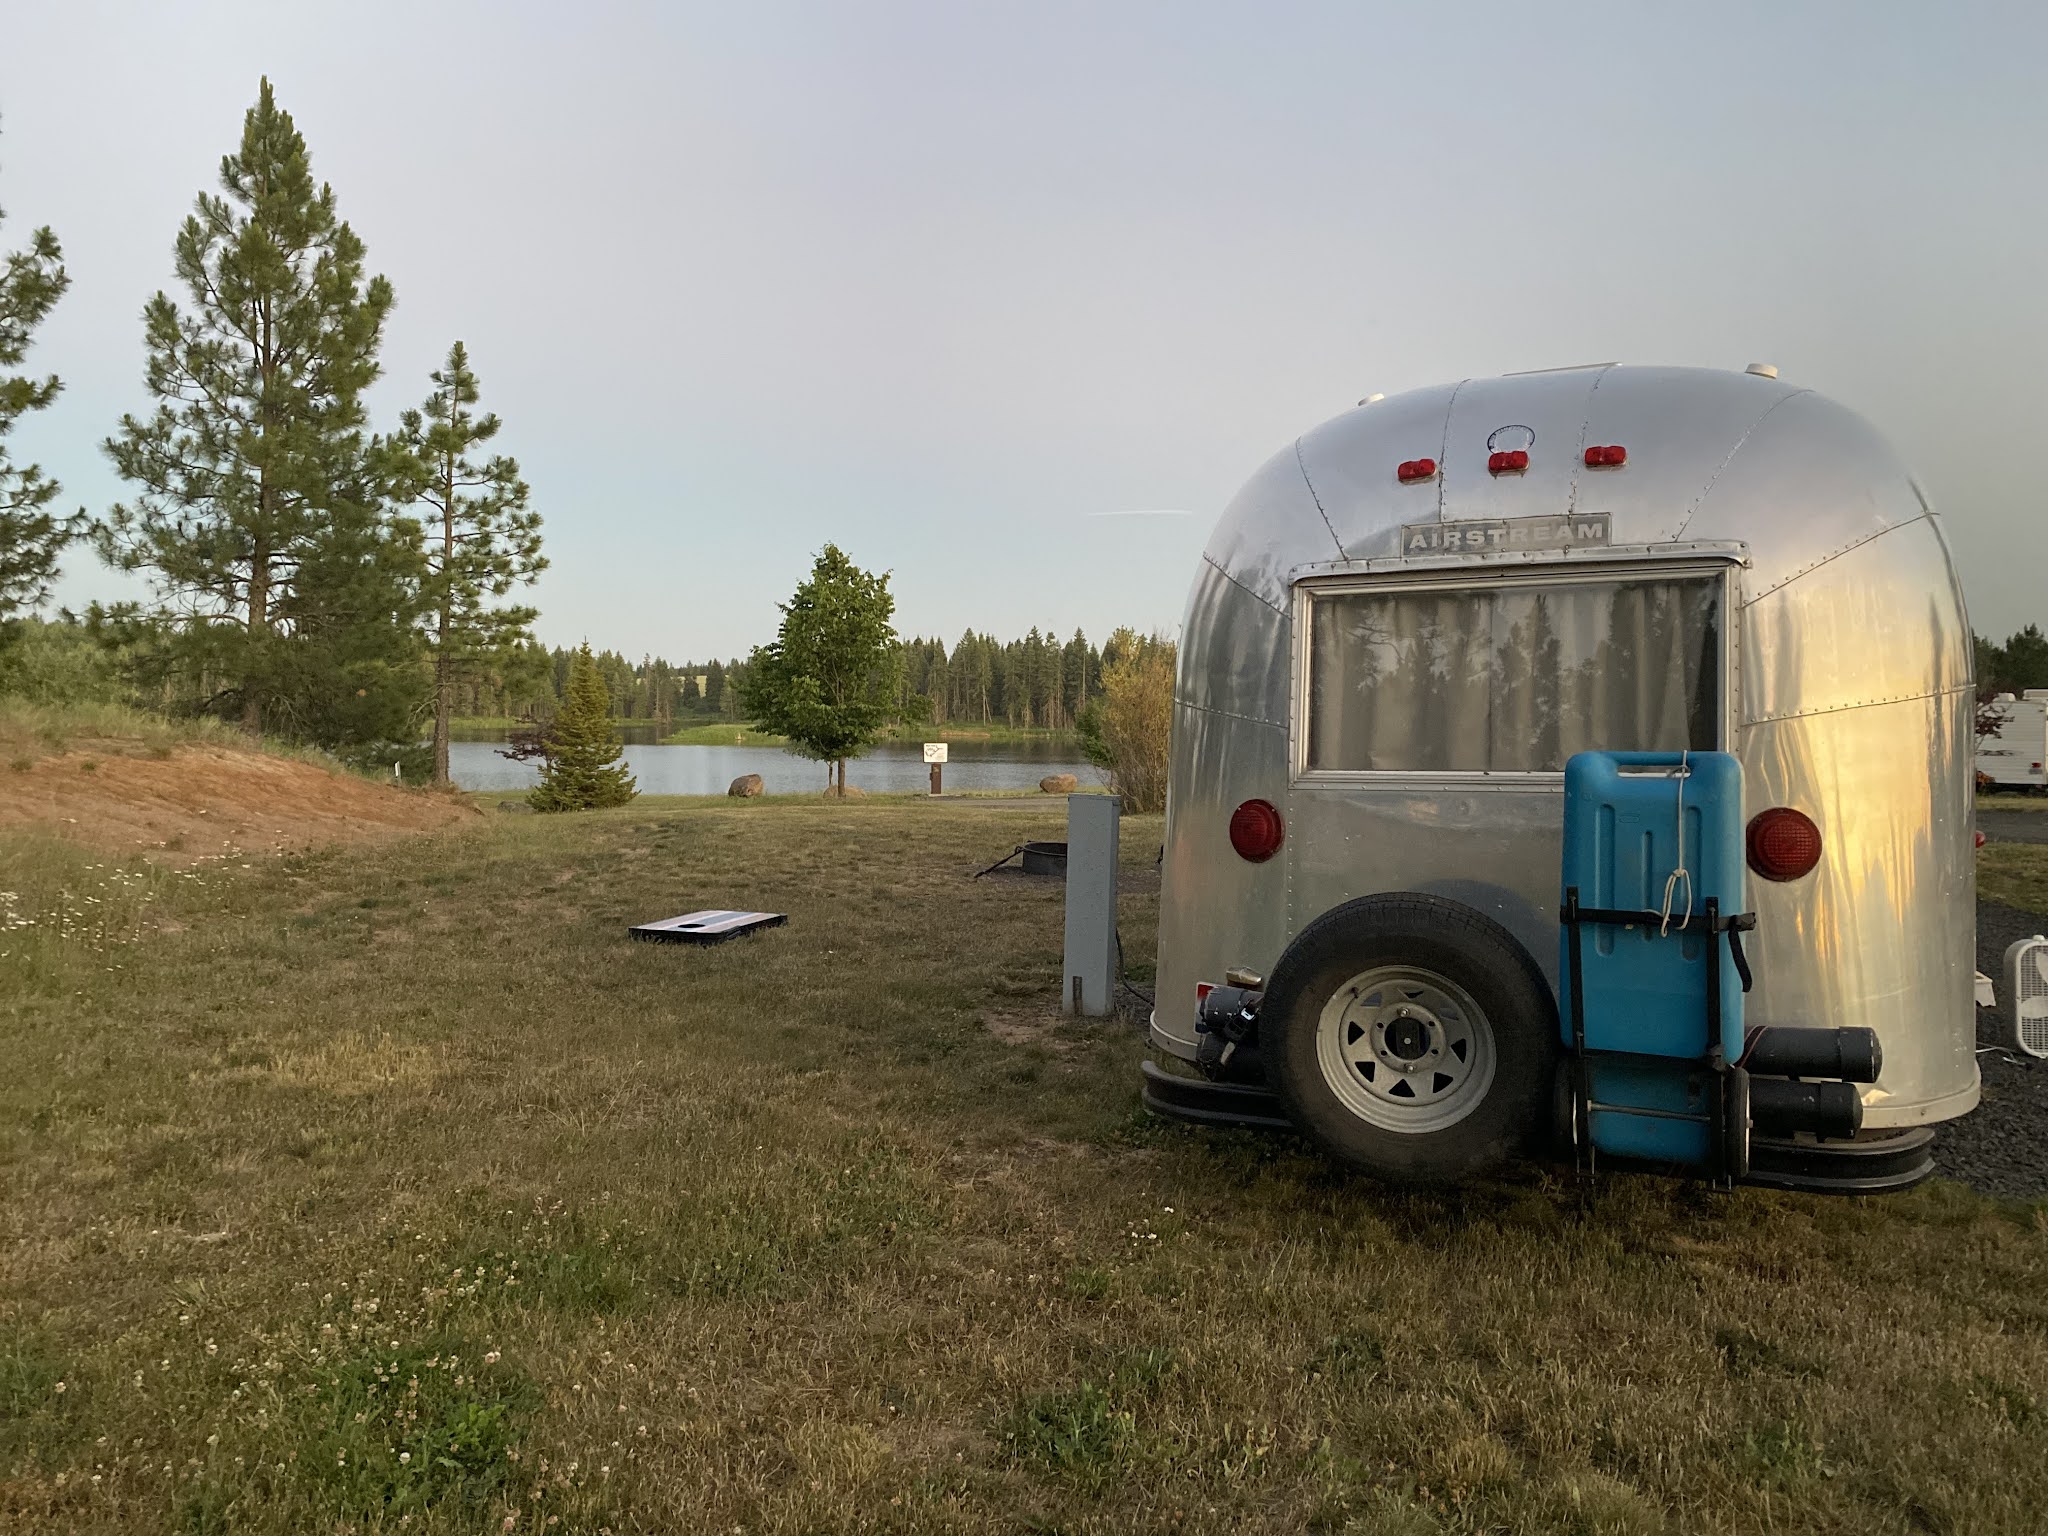
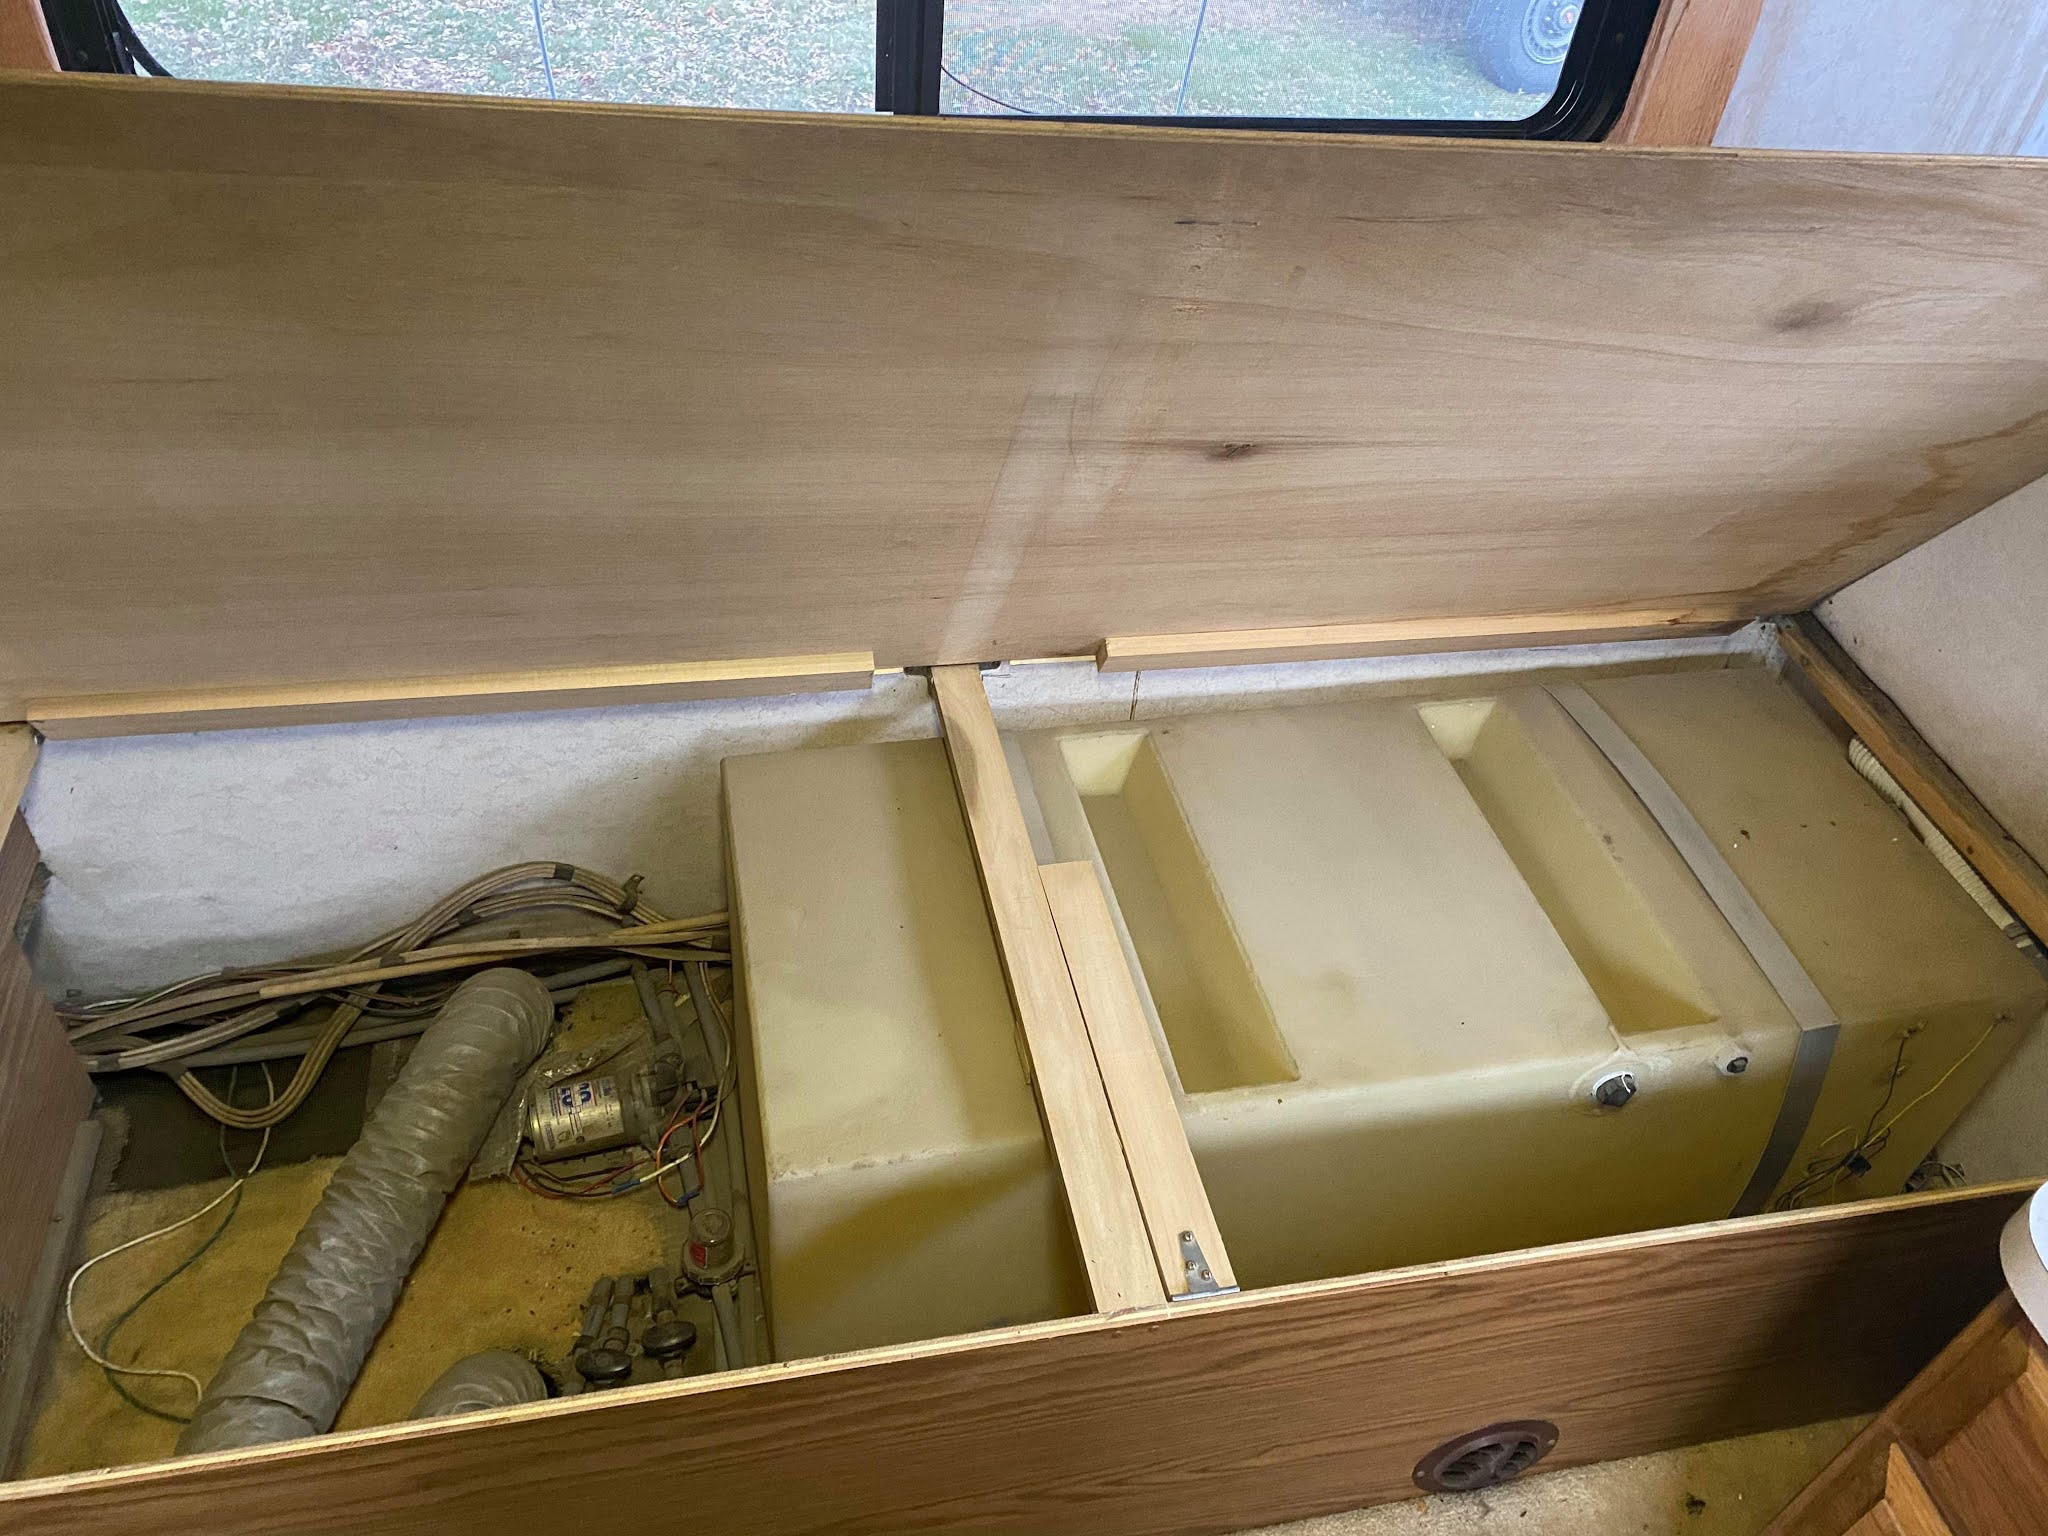
This was our view, we had an end spot, overlooking the lake! This campground was very basic - only water and electricity at the sites, and not showers, but we figured we could get by for a weekend. (I could get by! I love my showers everyday.). Mr. Right promised I could have a shower in the Airstream, since he just installed a new water heater. Of course, the minute we set up for the weekend, said water heater didn’t work!!
For this trip, we brought my Grandfather’s rowboat on the top of the truck. The kids had a blast going out fishing. Thankfully, they’ve all become very strong swimmers, so we didn’t need to worry about them being out by themselves. We could see just about the entire lake from our campsite, so that was pretty nice, too.
The views were absolutely amazing! Of course, having a campfire was pretty amazing as well. The temperature was in the hundreds, but since we have air conditioning, we had a great time.
This little girl arrived with some young adults on Saturday mid morning. They were more than drunk and saying they needed gas. It was a strange interaction going on, but they suddenly left, and left this little girl behind. She wondered around the campground for some time, and we decided to try to entice over, because she looked hungry and thirsty. She drank 2 bowls full of water and 3 bowls of food. Poor thing! They came back later in the afternoon and picked her back up. Such a weird thing to do!
Lots of fishing was done and fish were caught. Mostly pan fish, but who doesn’t love pan fish for dinner?
Dayo also had a cute little beach with a dock where the kids went swimming for quite a long time to cool off from the 100 degree weather.
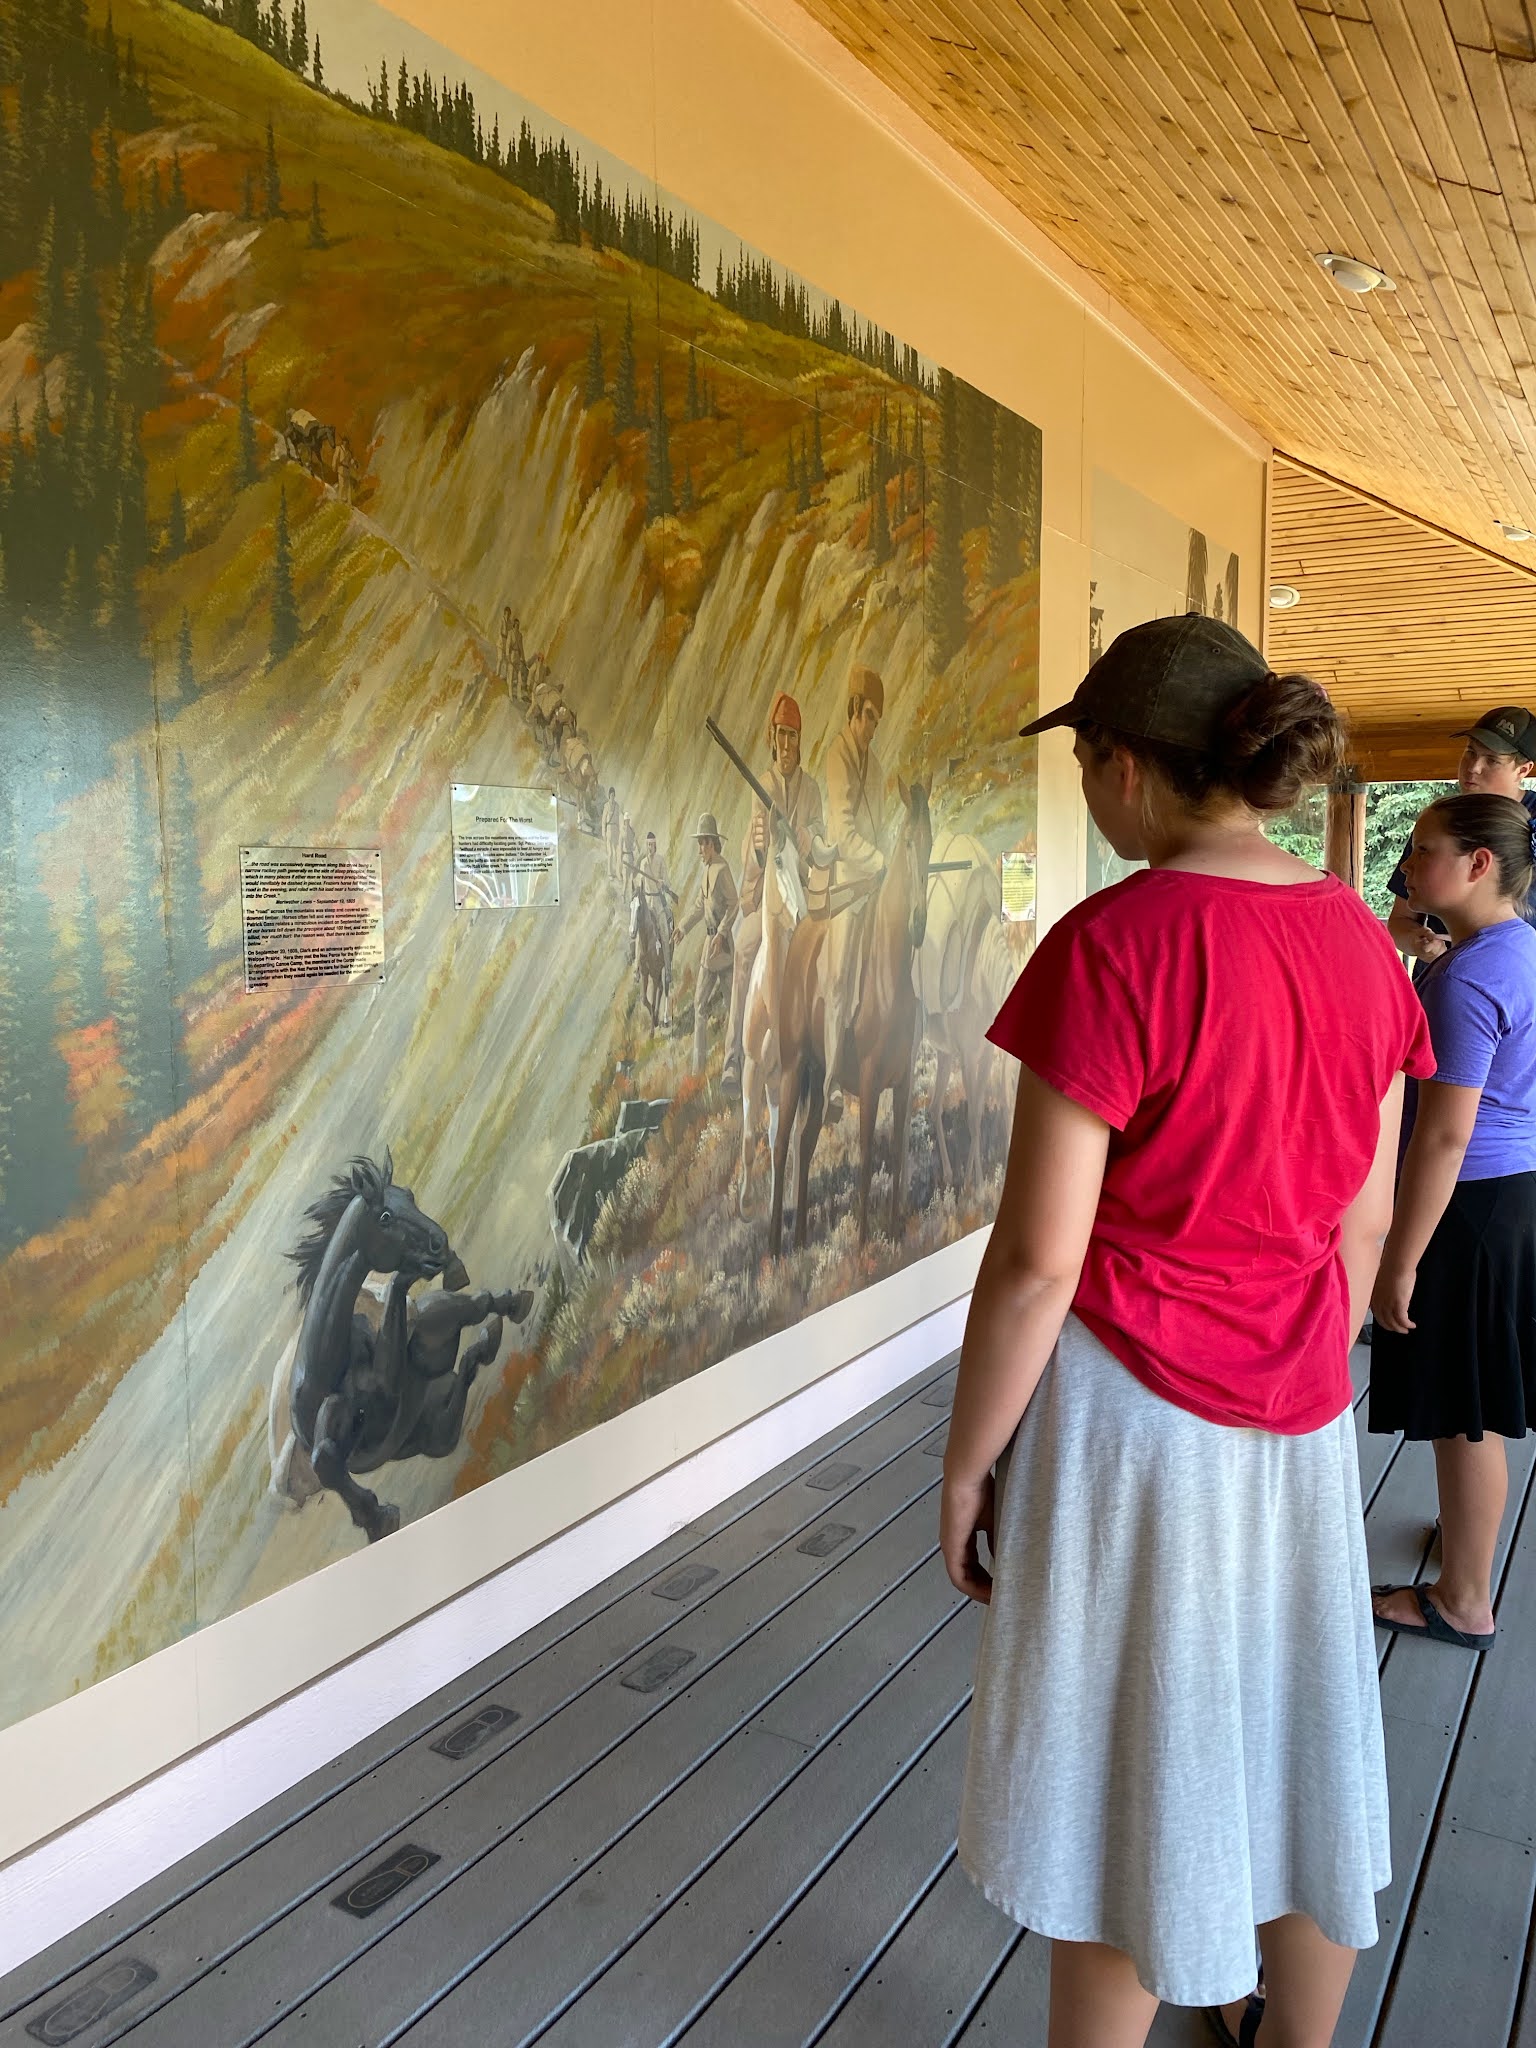
On Saturday afternoon, we went to Weippe to visit the visitor center that had information and paintings on the Lewis and Clark Trail.
This was a covered porch outside of the local library that also had more indoors, but we just missed seeing that part of it.
Lewis and Clark first met the Nez Perce just outside of Weippe, so we did visit that meeting place.
A final sunset from our campsite! Gorgeous!