Showing posts with label Bedroom. Show all posts

Wednesday, January 20, 2021

More RV Bedroom Tear Down


We’ve gotten further on the bedroom tear down.  Literally, the walls and ceiling peel off with ease because they have been so waterlogged from the leaks in the ceiling.  Thankfully, the insulation doesn’t seem to be affected by the water.  We’re hoping to be able to reuse as much of that as we can. 
This is a view of the insulation under the wall and ceiling boards in the back bedroom.  
 

Wet stain above the ceiling and insulation.  

 As you can see, the boards just under the outside roofing is wet.  We are hoping that once we fix the leaks, we can dry this board out and seal it with a primer and then reuse the insulation, and then add in the ceiling and wall boards back on.  

Another order of business on our list is to take a wire brush to the steel framework.  It has rusted from all the water leakage and will need to be cleaned up.  We will then seal that to prevent it from rusting further.

Here you can see all those layers of waterlogged wall/ceiling board, insulation and framework.

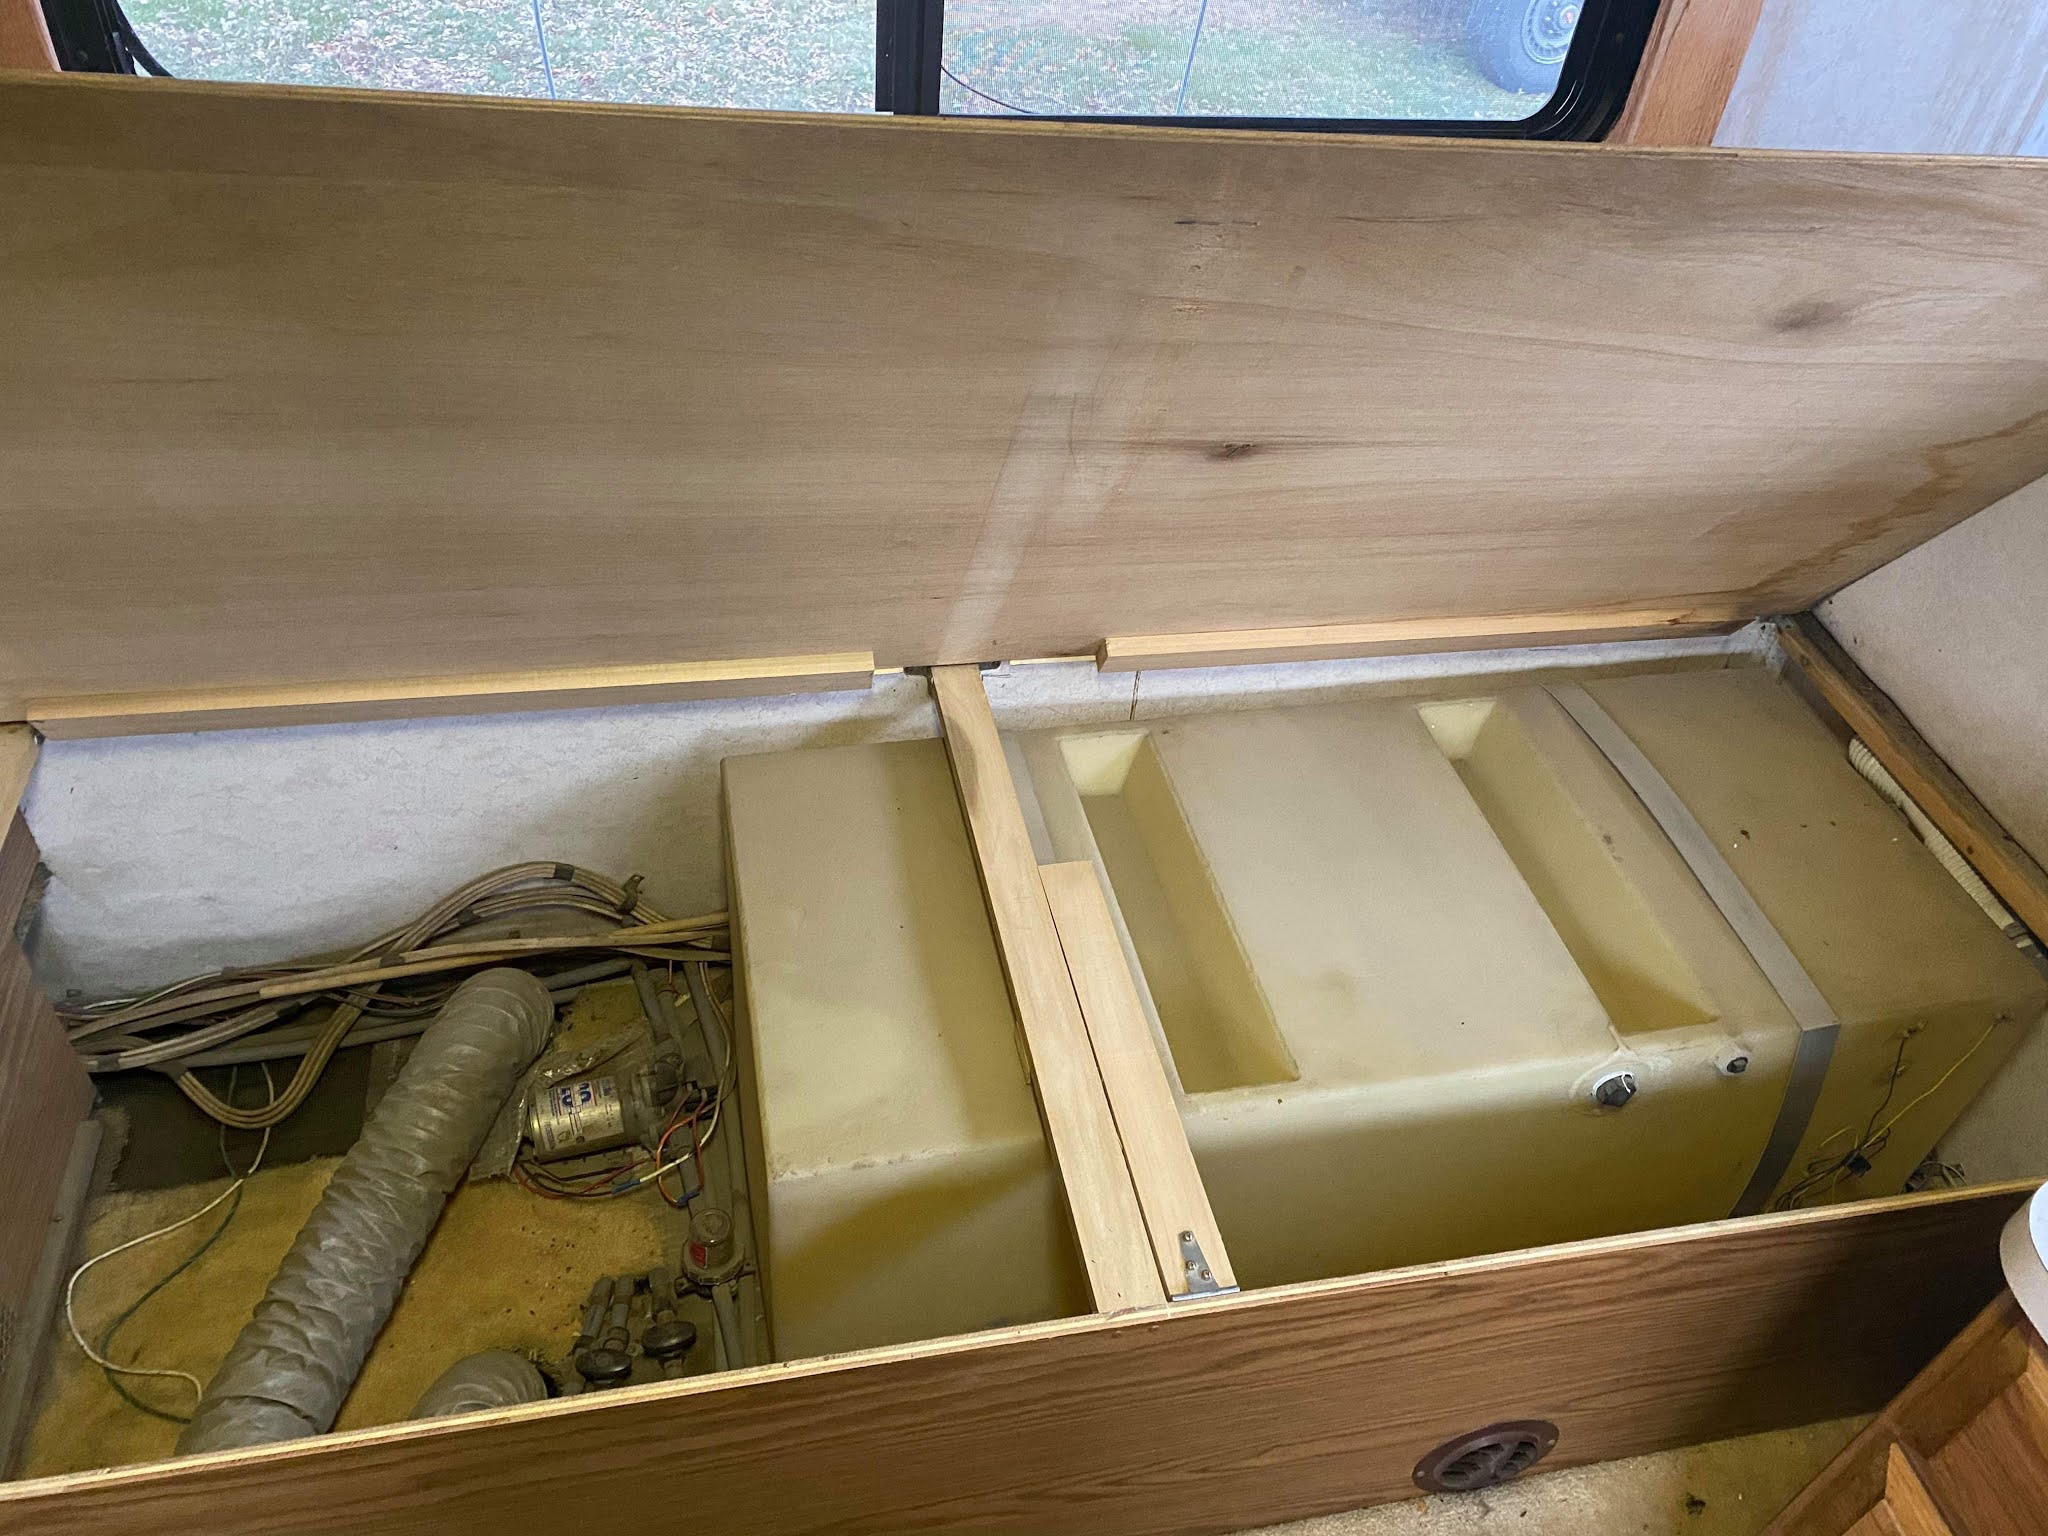
Wiring is starting to appear exposed throughout the bedroom since the ceilings and walls are coming down.  We did start to pull apart under the twin bed that had a false bottom to try to figure out why it is raised there.  We found all the main water and wiring coming into the RV under the twin bed drawers.
Under the driver’s side bed
The floor is raised under the bed.  The drawer is higher than you would expect as well.  After pulling all that out, we found that ll the main wiring is hidden here as well as the water pipes.  Fortunately, none of this looks like it has leaks or issues, yet.

There’s a plastic sheet under the bed sealing the underside of the RV from the bed.

The mice were definitely busy in this area, so we are going to have to try to figure out where they are getting into the vehicle and close up any holes.  The previous owners had steel wool just sitting under here, but he amount of mouse poo here is really gross!  Steel wool wasn’t doing it’s job of keeping the mice out.

The tape for the roof has been ordered, so the next big event for this RV is going to be applying the tape to the roof and getting it to stop leaking.  Then start the rebuilding of the ceilings and walls. Stay tuned for more gutting and hopefully redoing it

Saturday, January 9, 2021

Bedroom Teardown

Frame from bedroom window
We have started to rip down some of the inside of the bedroom.  Now that I look back at the pictures, I do think that we are being a little on the tentative side, but at first glance we were overwhelmed!  Tearing it all down is making us realize how extensive the water damage is on the Airstream!

It’s hard to see this frame in the living area from the bedroom window.  Everything in this RV is beige - I’m pretty over it already.  Oh, and then gold mirrors too!  Can’t wait to get rid of it!  I’m not sure if we will be using these frames, they keep the blinds in place and from bouncing against the windows as you drive down the windows.  In the bedroom, they have coat hooks along each side, which is a nice use of space.  I guess we’ll see what we do with window covering before deciding if these frames go back up.


Before picture of the walls in bedroom

At first glance at all of the woodwork from the outside, it seemed like it was all salvageable, but a closer look at this front cabinet, we are realizing that it might not be that simple.  The inside of this cabinet is pretty damaged by water.
Front bed before
The ceiling panel was falling down on it’s own, so we just started pulling on it to get it down.  We haven’t gone into the insulation yet - it’s going to need some replacement as well, but we need to first fix the leaks in the roof.  It seems that fixing the inside will have to wait until we can get the leaking to stop.  All the outside seams need to get sealed.  Unfortunately, it’s winter, so this will have to be done in a shop.  

 
Back Bedroom Driver’s Side    

As we started peeling back, we realized that our first order of business is getting the leaks fixed.  This is pretty extensive damage and seems to be throughout the entire camper.  All the walls and ceilings will need to be replaced.  Mr. Right has found a tape that needs to go on all the seams to seal the leaks.  Apparently this is a usual problem with these rv’s.  

Closer look at the wall and ceiling damage in the bedroom

To ensure that there isn’t any further leaking, this is what Mr. Right came up with.  I know it’s necessary, but at this point, we do look a little trailer park around here.

Protection from rain and snow

Believe me, I’m pretty excited to at least get some warmer weather, so the leaks can be fixed or find a shop that we can use for a weekend!  I can only imagine what my neighbors think! 

Saturday, January 2, 2021

1992 Land Yacht Before Shots Inside


A view from just inside the door towards the front

The outside of our 1992 Land Yacht looks to be in pretty decent shape, but the inside is something to behold!  We aren’t really sure how much is going to have to replaced, but there is a lot of water damage as well as a lot of rodent damage too.  The previous owners had some cats in here too, so we will be doing a lot of cleaning and ripping out.  This is definitely the good, the bad and the ugly of this RV!

Kitchen, which is to the left of the door

Middle hallway on the way to the back bedroom

The hallway leading to the back bedroom has a full cedar lined closet and a shower.  

This is under the bed on the passenger size.  

Just behind the dinette is a full size refrigerator.  

As far as we can tell, it seems that the refrigerator is working.  It’s not even that dirty, but will need a cleaning.
Back passenger side twin bed

We took the twin mattresses out right away, so you don’t see them pictured here.  The roof over them has been leaking on them as well as the bugs and mice had their way with it.  Gross!!!

Bathroom on the right side in the middle

The door right next to the toilet closes to shut off the bathroom, or can be opened wide to make the entire hallway into a bathroom that includes the shower across the hall.  It’s pretty large.
This is the nightstand in the back between the twins.

A better view of the bathroom.  The cupboard space is pretty great.

This is where some of the leaking is occurring above the beds.

The original tv in the bedroom over one of the twins

A view to the back of the RV from the kitchen.

Original remote included!

Chairs behind driver and passenger seats.

These chairs are not attached and seem to be in pretty good shape.  I think once it gets warm, I should be able to power wash them and let them dry.  I may have to make slip covers, but it’s just one less item to completely replace.

Pantry between kitchen and bathroom on driver’s side

The pantry has had shelves added to make it better storage.  Other than cleaning, and possible painting, this area I would like to keep as is.  Everyone needs storage in an RV!


Another look at the toilet with that door opened up.  

There it is, a look at the entire RV on the inside before we get to work on it.  We will be working on this over the next year.  Hopefully less than a year, but you just never know! Stay tuned, for updates!  

Wednesday, April 21, 2010

A Bed of Our Own

The original bed plan in the Ambassador was two twin beds in the middle and a somewhat small double pull out goucho (couch) in the front.  We had several issues with this set-up, the main one being that we have too many people in our family for four beds.  (I'll be showing you soon what we did to the goucho to make it comfortable for the two of us to be in the same bed at the same time.)  I think most people who order these Airstreams with the twins in the middle don't actually sleep together.  After 15 years of marriage, I find that I enjoy sleeping with my husband, and after spending a few years in our Clipper, where we couldn't stand sharing a tiny bed in hot weather, our goal for this "new" Airstream was that everyone would have a bed of our own. 

We tend to be purists with the Airstreams.  We talk about all the changes we might make, but find that we are very loyal to the way it was originally - to a fault!  So with that being said, if I sound like I am trying to justify these changes, I am trying to just convince myself that it's not sin to change it!All that being said, we went first with what we knew, and that was our 1953 Clipper bunk bed.  Mr. Right copied the base of the bunk in the Clipper in structure and built two of them.  We planned to use the space above the twins, where the cupboards were beyond repair from water damage (yes that was a justification).  We wanted them to fold up, since it would take up extra room at the ceiling level to have the beds in the down position.
Here was our next plan, a way to make the beds stable when kids are in them without putting too many holes in the camper.  After much discussion about the ability of the ceiling structure being able to hold up the bunk (I know, many of the bunks that were originally in the Airstreams were hung from Elephant Hooks from the ceiling.).  Another trip to the hardware produced and great find of Angle Aluminum.  This we bolted to the walls and closets that are on each side of the beds. 

The passenger's side did not have a big enough wall to hold the bed in place when someone was in the bed like the driver's side did, so when a child would climb into the bed, it would tip out of place.  We didn't want to attach the other side to the aluminum wall or put in hinges so we could flip the bed up.  (Mr. Right cringes at putting holes in the aluminum, something about all the holes he's had to fill with rivets already.) 

To fix this unstability, we used aluminum pipe on each side to act as legs between the upper and lower bed.  A plumbing filange was used to hold them in place.  When the beds are up, we just put the pipe in the upper bunk to store them.

Now to the storage of the bunk while moving down the road and during the day.  We figured that a hook and eye would hold it in place, but found after our first trip that the motion and weight of the bunk was too great for this simple fix.  Instead of this, we drilled a hole in the wall under the bed and inserted a thicker bolt with a cotter pin to hold it in place.  (Yes, another trip to the hardware store.)  This pin is taken out and put in a drawer (where little mechanics can't find it) when the bunk is in use.Here's another picture of the bed in the up position.  The bunk hangs about 2 inches into the window, but we felt that it was worth the extra sleeping space!

Please let us know what you think of our beds!

I am linking up to:

Wednesday, April 7, 2010

Bed Restoration

Here is a before picture of the door side of the beds.  The fabric on the beds and the walls seem to be original along with the mattresses.  This was the junkyard dogs house, so bother were thrown out right away as they smelled and looked horrible.The other twin bunk on the driver's side was just as grosse.  The board you see in the the foreground is the tv tray - a much advertised inovation of the time in 1963!This was the procedure that we had for all the stripping and staining.  I would put the stripper on several of the pieces at once and then go back over them and scrape them.  I would used steel wool to touch up any smaller places or hard to remove paint.  Believe me, it was very rewarding to see all that grey looking paint come off the cabinets! 

After a washdown with paint thinner and a day of rest, I stained all the pieces with Red Mahogony stain.  We knew this was a sort of risk in the "Vintage Airstream World."  But we liked the look of the dark wood the best!We started getting the frames in for the cupboards and beds without the walls (they weren't finished yet, but we were excited to get things done.)  It still seemed pretty big without all the furniture in, so we were really excited at this point!Here the drawers are back in with the frames.  As you can see, we haven't veneered the drawer fronts that were ruined yet.  That was the very last thing that we did, as the veneer was a pretty penny and hard to find.Finally, the doorside bed, with the uphostry of the couch on the back of the wall is in. I found these great blankets at a rummage sale for $2 for both!  My friends that as were with me thought I was crazy with the bright color, but I knew it matched my couch perfectly! Stay tuned for the bunk beds that we installed over the top of these beds!  Hope you enjoy!

I am linking up to:

Saturday, March 27, 2010

More Pre-Ownership Pictures

One of the points of contention in the purchase and bargaining for the Ambassador a couple of years ago, was the stove. When we made our original bid on the Airstream, the owner said "what just for the stove? It's a brand new stove!" Well, as we were to eventually find out, the stove was brand new in the 1980's!

Little did we know at the time, but the someone had purchased a new stove for the Ambassador, but had never even installed it. Luckily, it didn't completely fall out going down the road, but it could have really gone flying if it had!
Overall, the kitchen doesn't look too bad, but as we tore it apart, we found that the window above the sink had the worst leaks and had really done quite a bit of damage to the countertops and wall next to it.Here you can see just some of the really bad damage that was done to the woodwork from the bad air vents that were piped through the Airstream, under the California trailer code. Unfortunately, the seal around the vents were not tight, so water poured all the way around the pipe and into the camper. Also, the pipes at the top had no covers on them, so rain poured into the pipes too.
This is the wall between the kitchen sink and the driver's side bed. I was quite excited that the tv tray was still in the Airstream and worked. It swings out into the aisle so the tv can be watched in both the living area and the bedroom. We have yet to reinstall it, as with the technology of today, there is not much of a need of that big of a shelf for a tv, if we ever put one in. Flat screens go in so well on a wall without the shelving.
Here's a shot of the passenger's side bed. It's even got it's original bed cover and mattresses. Unfortunately, there had been a lot of flooding and animals on these beds. We threw them out first thing. If you had seen the dogs that were freely in the Airstream, you would have done the same.
I am linking up to:

Monday, March 22, 2010

Bench Progress

This weekend was spent making progress on the new benches in the Amabassador. After much discussion and disagreement as to the mechanics of this project, we finally just had to dig in.  We have found the front goucho to not be big enough for the two of us. 

Even though it was adventureous to try to use it last summer, we are over the 1,2,3 turn together routine all night.  Unfortunately, I don't turn at all and Mr. Right turns every 1/2 - 1 hour, so someone was uncomfortable either way.  We are determined, though to sleep in the same bed!  The other issue we had with this Airstream was the size of the table.  I know that was the big thing was to have elegant dining for two, but for a family of six, it just didn't cut it.  We really enjoyed sitting around the table in our Clipper, so we've been determined to figure a bigger table out.
Here is the framing of the bench on the driver side.  We made it deeper than the other side, to make it even with the kitchen cupboard.  For me, it means more storage!The passenger side of the bench is framed in and has the front in place.  These benches will loose us two drawers, but will gain us some storage.  We plan to use the space under the goucho for rarely needed items. This side of the bench will be for all the shoes that we have.  If every person has a pair of tennis shoes and a pair of sandles, we have a dozen shoes in our camper!  We're hoping this will solve some of the clutter, while still making them handy next to the door.  Plus, the dirt won't be dragged into the camper.

On to the staining - my department!  Fortunately, it was a beautiful day for it!The bases are installed. I think they look beautiful.  The top is cut, but not done yet.  I'll give you more on that as it gets done!There is a little ledge on each front edge of the bench for the table to drop into.  We have the pedistals and the table top purchased and ready to go to the next step.  Unfortunately, we have a busy week and rain in the forcast for the weekend!  Stay tuned for more soon!

I am linking up to: