Showing posts with label living room. Show all posts

Saturday, January 2, 2021

1992 Land Yacht Before Shots Inside


A view from just inside the door towards the front

The outside of our 1992 Land Yacht looks to be in pretty decent shape, but the inside is something to behold!  We aren’t really sure how much is going to have to replaced, but there is a lot of water damage as well as a lot of rodent damage too.  The previous owners had some cats in here too, so we will be doing a lot of cleaning and ripping out.  This is definitely the good, the bad and the ugly of this RV!

Kitchen, which is to the left of the door

Middle hallway on the way to the back bedroom

The hallway leading to the back bedroom has a full cedar lined closet and a shower.  

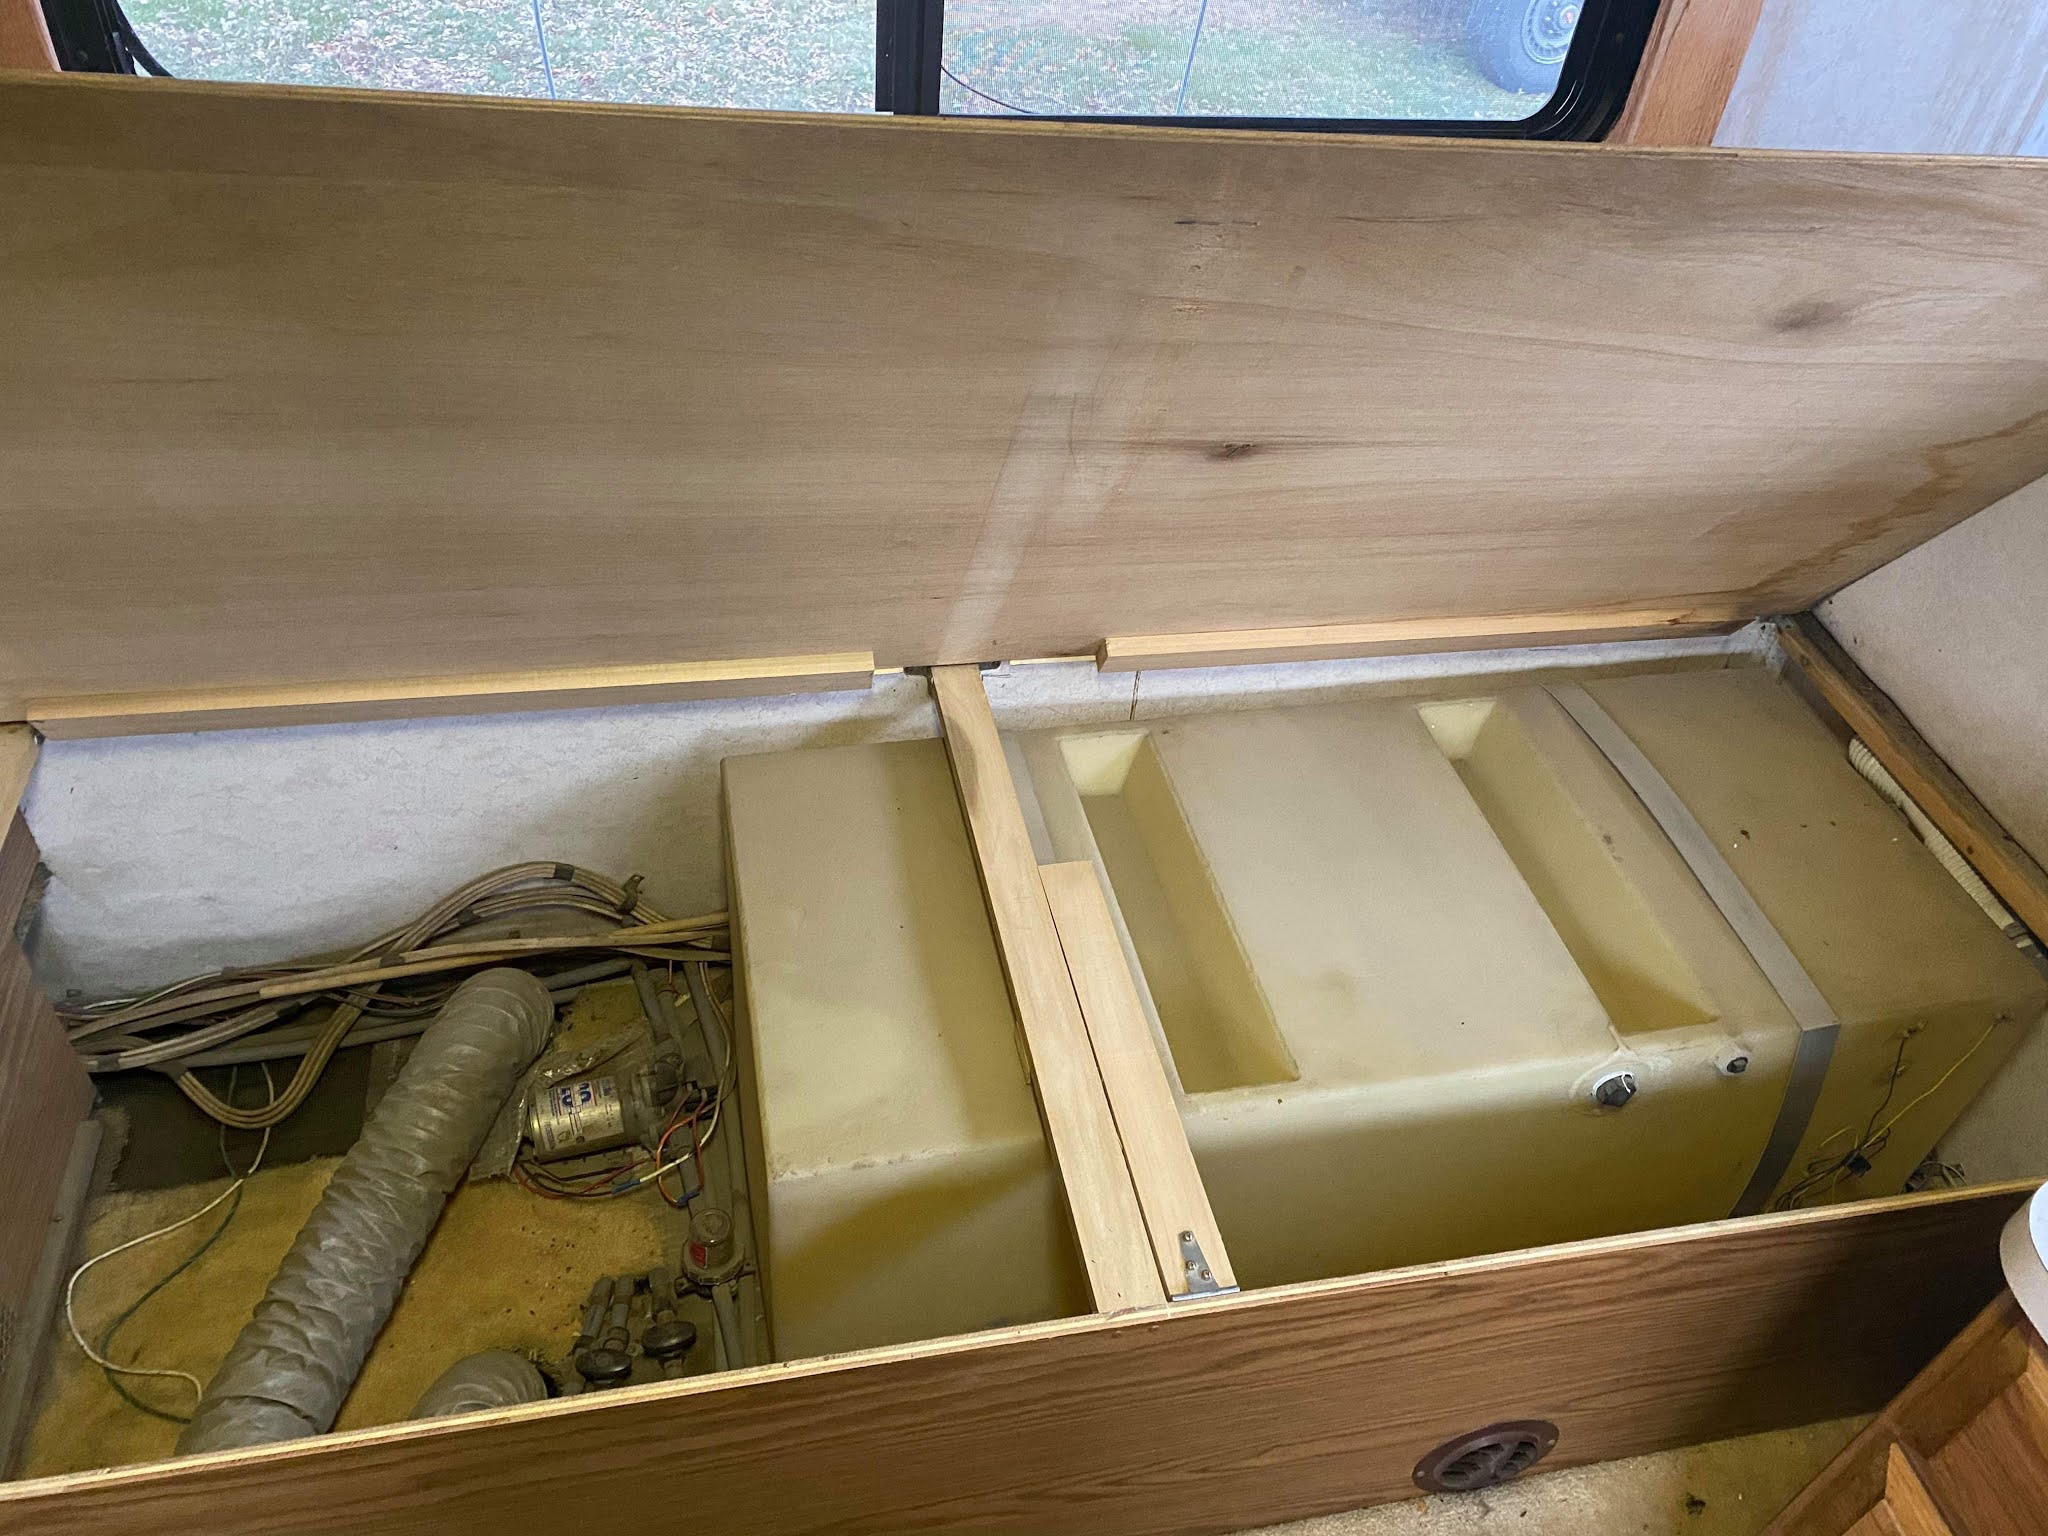
This is under the bed on the passenger size.  

Just behind the dinette is a full size refrigerator.  

As far as we can tell, it seems that the refrigerator is working.  It’s not even that dirty, but will need a cleaning.
Back passenger side twin bed

We took the twin mattresses out right away, so you don’t see them pictured here.  The roof over them has been leaking on them as well as the bugs and mice had their way with it.  Gross!!!

Bathroom on the right side in the middle

The door right next to the toilet closes to shut off the bathroom, or can be opened wide to make the entire hallway into a bathroom that includes the shower across the hall.  It’s pretty large.
This is the nightstand in the back between the twins.

A better view of the bathroom.  The cupboard space is pretty great.

This is where some of the leaking is occurring above the beds.

The original tv in the bedroom over one of the twins

A view to the back of the RV from the kitchen.

Original remote included!

Chairs behind driver and passenger seats.

These chairs are not attached and seem to be in pretty good shape.  I think once it gets warm, I should be able to power wash them and let them dry.  I may have to make slip covers, but it’s just one less item to completely replace.

Pantry between kitchen and bathroom on driver’s side

The pantry has had shelves added to make it better storage.  Other than cleaning, and possible painting, this area I would like to keep as is.  Everyone needs storage in an RV!


Another look at the toilet with that door opened up.  

There it is, a look at the entire RV on the inside before we get to work on it.  We will be working on this over the next year.  Hopefully less than a year, but you just never know! Stay tuned, for updates!  

Wednesday, April 28, 2010

An Upholstry & Zipper Tutorial

You may have seen our front goucho in the Ambassador already.  I upholstered this last year when we gutted the entire thing.  One of the things that I had done was measure every angle of the goucho and then took the measurements and drawings to the fabric store to figure out my material needed.  I always buy an extra yard just in case, especially on big projects like this. 

Well, after figuring my yardage, there were just a couple of yards left on the bolt and it was the only bolt with this material, so I bought it all.  I think I only had about four extra yards, but it is the wider, upholstry fabric on the big rolls.  I found my new fetish - the Mill End Outlet Store, which has the nearest store in Rochester, MN from us.  We made a side trip on our way out to South Dakota last year to pick out upholstry.  I was able to purchase all of the fabric for the curtains (including lining) and the goucho. 

As it turned out, I had enough fabric left to upholster the wall behind the twin beds in the middle too.  Needless to say, I still had a stash of the stuff in my closet, so when we started to talk about adding benches, I thought I MIGHT have enough to at least do the tops of the cushions with my fabric from the goucho.
Here's the finished bench.  I love the piano hinge that was used to lift the lid to the storage.  Mr. Airstream found that purchasing the hinge in the largest size and then cutting it in two to the size that we needed was less expensive than buying two different hinges.
Just a view of the open bench that we added.  (Those are the pedistals for the new table that will go here.)  Plenty of storage space for Mr. Airstream & I to put rubbermaids with our clothes in it for trips.

The first thing  that I did after finding the foam on the internet was to get Mr. Airstream to cut it the correct size for the space.  We purchase very firm 6 inch foam in two pieces (one was the exact size we needed and the other had to be split in two.)  We bought it from Buyfoam.com at the lowest prices we could find.

I then laid it down on the material to get the main top pieces cut correctly.  Some of the things that I try to do is to make sure that the fabric runs in the same direction as the rest of the couch.  In this case, I just was happy to get the top and then the side also going in the same direction.

I actually don't measure this part out.  I cut about an inch away from the foam.  Then I turn it to the next side down and cut another piece for the same cushion.  I was very excited to be able to get three side pieces and the top of the cushion cut out of my leftover fabric from last year!  I literally only had a few scraps left over.

I then laid the top and one back side of the fabric down on top of a coordinating vinyl for the bottom and back side of the fabric.  These sides won't show in the camper, but will come in handing for turning over for young kids to sit on!

Next, I took one side from each cushion to put a zipper on it so the cover can be removed for washing.  I chose the shorter side, because zippers can be costly and hard to find in really long sizes.  These two sides, I cut in half and then sewed back together using a basting stitch, leaving a half inch seam.  Press the seams open.

When I did the original goucho, we found this zipper by the yard and zipper slides and stops at the Mill End Outlet store.  I again had purchased just enough to put these two zippers into the cushions.  You just put the zipper slide on the zipper and add the stop at the  other end.

Next, pin the zipper down the center of the seam you just made.  You have to be real careful, becuase where the seam is will be cut open to reveal the zipper on the other side.  Be sure to put the right side of the zipper towards the back side of the the fabric.  (I know seems backwards, but trust me, the zipper will be revealed on the other side in the end!)

Using the zipper foot on the machine, sew along the edge of the zipper on both sides.  I like to leave about a quarter of an inch gap, just in case I am too close to that seam.  Now the fun part!  Turn the fabric over to the front side and use a seam ripper to take the basting stitches out.  Voila!  You have a zipper that works and is hidden!

To finish the cushion, I put the pieces I cut upside down and pin the sides on.  I take each pinned section to the machine and sew where the pins are placed.  There's no real science to this, you just want the fabric to be straight and tight on the cushion.  When you do the last piece, be sure to leave the zipper partially open, so that you can turn it right side out.  There is nothing more frustrating than having to rip out a seam because you can't open the zipper from the wrong side! 
Here's the new benches with cushions!  (Don't worry, that little hole by the drawers got a false front added later to make it look finished.   Oh  - and because I had all the materials for the cushions were purchased last year and left over, these two cushions cost me nothing.  Stay tuned for the table!!!

I am linkin up to:

Sunday, April 25, 2010

Heater Installation

Because of the flooding inside the Ambassador before we purchased it, the heater had been rusted out.  The entire bottom of the heater that was located under the oven was gone to rust when we took it out.  There really was no help, for it, so it went directly to the trash.  This was not top on our priority list for fixing last year, as we really didn't know what we would do to replace it.  At the WBBCI flea market in Madison, WI last summer, Mr. Airstream was determined to find a heater.  After a few discussions with others in the Wisconsin unit, he had his heart set on a catalytic heater.  He found one while I was setting up my booth at the flea market and tried to get his hands on it, but was beat by another eager Airstreamer to get one.

Mourning his loss, he continued on his search for another one, with no luck.  Meanwhile, another Wisconsin unit member, who knew Mr. Airstream's plight, found one for $30 and snatched it up for us!  We were astounded and elated that he took the chance that Mr. Airstream hadn't found one!  Of course, Mr. Airstream, has been carrying this thing around with us since then, trying to find the perfect spot for the most covetted Catalytic Heater in Wisconsin (or possibly the world!).I wanted to give you a glimpse of the installation underneath the refrigerator.  He used gas grade flexible gas line.  The extra is for a reason, to be seen in a minute.
Now you know the structure that we used to hold up the  refrigerator.  It was similar to what Airstream originally used, but much sturdier now.
Ta! Da!  The perfect little spot - except one little thing!  With the heater attatched and running in this location, it was pointed directly at our bed!  Not a problem for me, but Mr. Airstream likes it cool at night.  There is also the entire rest of the 28' of the Airstream to heat, too.If you hadn't already guessed, we attatched the heater to hinges so that we could swing it around and face it towards the back of the Airstream as needed (most of the time!).  A reason for this location, besides the oven space was that the gas was run in this location for the refrigerator, so it made sense.

Let us know what you think.  We are expecting to use this on our trip to the mountains in May, so we'll update you then too!  We do expect to use a small ceramic heater back in the bathroom for extra heat.  I'm trying to convince Mr. Airstream that we need another one of these in the bathroom....We'll see!

Let us know what you think of our hot topic today!

Wednesday, May 27, 2009

Finishing Touches

Just to show you some of the finishing up of things. We had to paint the light fixtures because they had some rusting on them. We decided to go with a metallic spray paint that looks real close to aluminum.
The couch is installed, although three of the drawers need to be re-veneered. We were both able to sleep in it, but found it to be really tight, as we are used to having a king size bed at home. It seems like we may be able to add another 6 inches onto the couch and still have it work, so we need to try to figure out how to make the mattress bigger without spending a fortune!


Monday, May 18, 2009

Curtains

Not to be outdone, I have been spending much time making and thinking up curtains for the camper. I have my hesitations about putting slide apart curtains on all the windows, because the curved walls make the curtains hang away from the wall. I decided to make just regular slide apart curtains on the windows by the beds and then put a Venetian blind on the the double stacked windows in the living room area. I'm not sure what I'll do in the kitchen or the bathroom yet. Pictured above is the pleated curtains I made for the window above the goucho.

Here are the side bed windows opened and closed. I am hand sewing rings for the Venetian blinds right now onto the curtain for the driver's side living room double window. I am praying that it works when I'm done, because I don't think that I can handle making it one more time! I used thermal lining for the backs of all the curtains. I am debating which material to use for the bathroom, but I know I need to make up my mind soon - like this week, so we can be in privacy in the bathroom!

Wednesday, March 11, 2009

Fabrics are purchased and started

Here is the before picture of the Goucho which is under the front window. There is another cushion that is used to make it a double bed when it lays down.
We made a trip to Rochester, MN to the Mill End Textiles. I could have done a lot more damage than I did, but was able to find this fabric for decorating the inside of the Airstream.
The white fabric is thermal lining that was on sale for $2.49/yd! The next one down is a chocolate brown with green and orange ovals on it for the goucho. The light green is 10 yards for the curtains and then the orange (with a slight, zebra stripe in it) is 4 yards for the backing behind the twin beds in the middle. We also were able to get padding for behind the beds, zippers by the yard for the gaucho, and the zipper ends, all for $130! Most of their fabrics were $4.99 a yard. They even carried a bunch of camper fabrics, but found they weren't funky enough for our tastes.

After working on the goucho for two days, I got it done! There were two 72 inch zippers in the back. The front of the goucho is one piece of material, with only 7 pieces altogether to make the goucho, you can imagine my struggles! Another point of interest, the back has a board in it to attach brackets to attach the goucho in a sitting position to the camper.
I took the old pieces apart and used them for patterns, but several times, could not figure out how to get them together again! Oh well, in the end, they fit perfectly!! Yeah! I just have to cover the other cushion with this material and two arm rests and the gaucho will be complete!